


Transforming My Kitchen Chairs | How to Chalk Paint and Stain Chairs

May 25, 2026


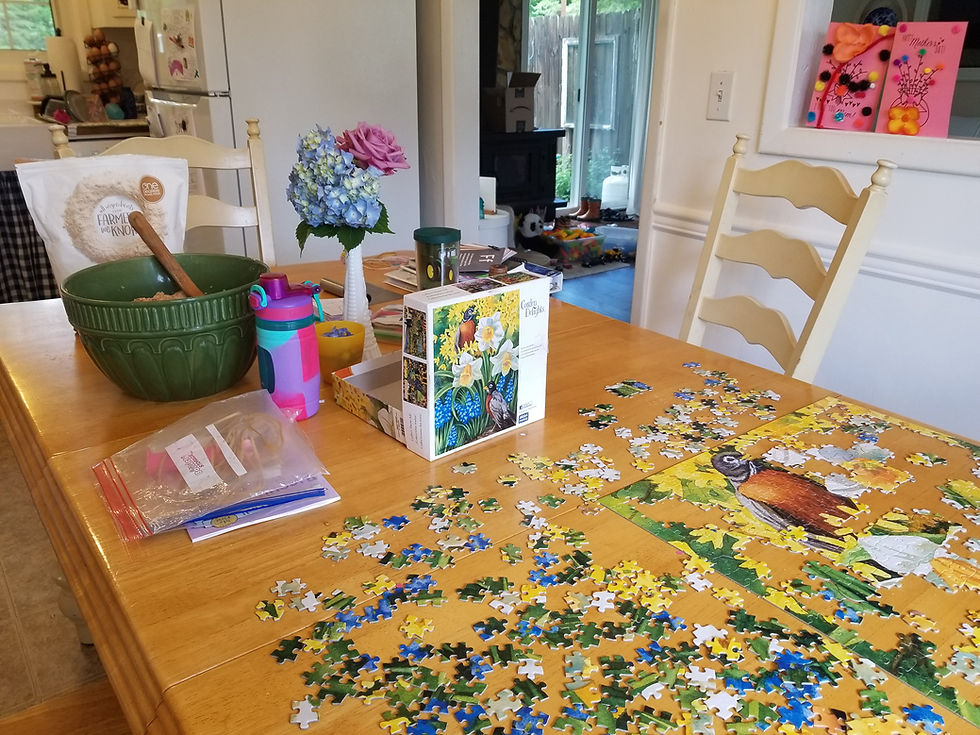

Last summer I started refinishing my kitchen table and chairs. It’s been quite the long, drawn-out process! What took me so long last summer was deciding exactly how I wanted to stain the seats which took a lot of trial and error with many little cans of stain. I also had a hard time deciding on the color, and although it did not quite get mixed right at the hardware store, it is still a beautiful color.
I started by chalk-painting and staining 3 of my kitchen chairs in the summer. Why I only did three of the six chairs is kind of funny to think about now, but I guess that seemed less daunting to me at the time.
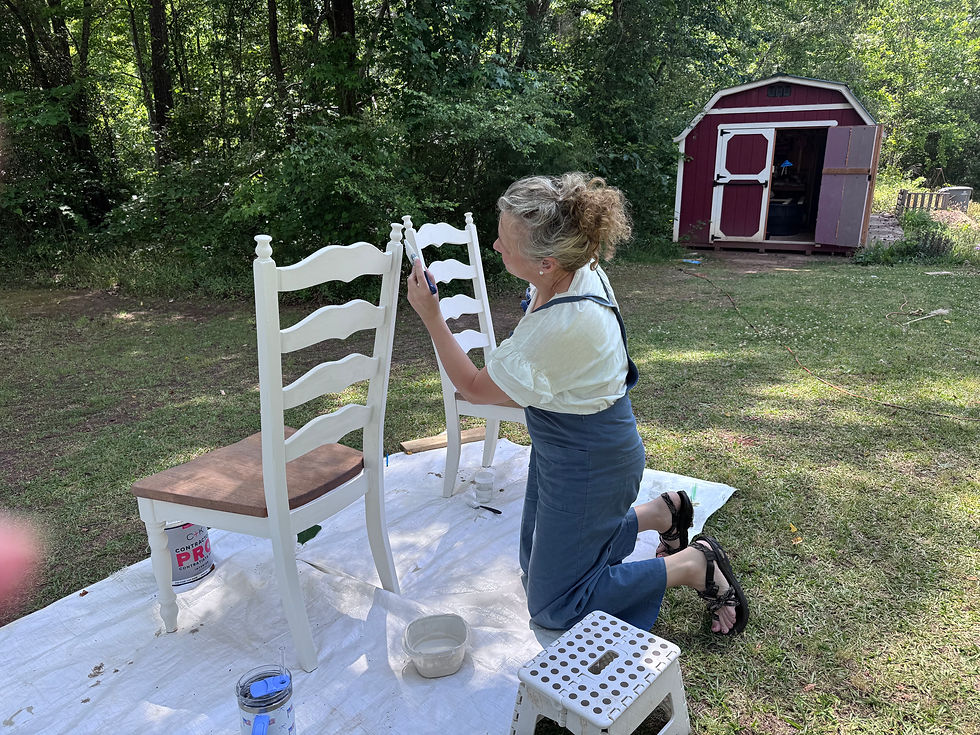
I quickly realized that I would only be able to complete 3 chairs last year. Painting in the intense South Carolina humidity was almost impossible. I about could not get the paint to dry out completely between coats. By the time fall came around, I knew that I was expecting my little guy and wanted to avoid paint fumes. So here we are this summer finishing up the chairs!

I still had 2 of these beautiful (but heavy) chairs in the attic, and thanks to my hubby I was able to get them out of their precarious positions amongst the rafters. I told my husband, “These chairs are never coming back up here again.” He laughed and agreed.
Today I want to share how you, too, can transform your kitchen chairs!

The principles that I am going to share with you today could be used in a variety of ways. For example, you could sand and then stain an entire chair for a charming wood look. Or you could chalk paint the entire chair, seat and all, for a streamlined cohesive look.
I chose to stain the seat and then chalk paint the rest for a varied look that focuses on practicality (dark seats hide dirt and scuffs) and efficiency. I personally think that chalk-painting over something that is already painted is easier than completely stripping and staining lots of intricate wood curves.

Supplies
Electric sander with a variety of sandpaper (low and high grits)
Latex paint in a flat finish
Paint brush
Water
Stir stick
Pre-Stain -- I used Varathane's Pre-stain for oil based stains
Wood stains – I used Varathane’s Aged Walnut and Weathered Oak
Clean lint-free rags or cloths
Wax -- I like to use Annie Sloan in Clear Finish

Transforming My Kitchen Chairs Step 1 –Sanding
This is the fun and extremely satisfying part. I used my handy electric sander to quickly sand off the seat and the sides of the seat. I started with a low grit like 80 and then went up to a few higher grits—120 and 240. The exact grits aren’t that important in my opinion, but I do recommend a rough grit at the start and at least one finer grit to give a smooth finish.
I did also use my sander to quickly go over the painted sections of the chair. Obviously, I could not reach every little curved crevice with my sander, but I tried to give much of the chair a rougher finish so that the chalk paint could adhere properly.
Transforming My Kitchen Chairs Step 2—Staining
Last summer I discovered the importance of pre-staining wood before actually staining the wood. I can be a penny pincher and a time saver (ie rush through projects). So I tried simply staining the seats last summer, and that was a failure. The stain looked splotchy and uneven, hardly the look I was going for.

So I discovered pre-stain which prepares the wood and worked like a charm. Pre-stain is so easy to use. Simply stir the contents of the jar (I used Varathane’s oil-based pre-stain). Dip a rag in the jar and then rub the pre-stain liberally on the wood. The directions on the jar said to apply against the grain of the wood, so I tried to do that in my application process.
Per the pre-stain instructions, I applied my chosen stain 30 minutes later. I mixed Varathane’s Aged Walnut and Weather Oak in a 50/50 ratio for an aged look that’s neither gray nor brown—a perfect in-between in my humble opinion. I chose to apply 2 coats of stain for a richer, deeper look.
Transforming My Kitchen Chairs Step 3—Painting
After giving the chairs some outside time to dry (way too pungent to dry in the house with stain!), I started chalk painting the backs and legs of the chairs.

To give proper credit I really wish that I could find the chalk paint recipe that I’m going to share with you. I found this recipe years ago online and have used it so many times in my home. Thank you so much to whoever invented this recipe and then shared it! Here’s the recipe that I use every time I want to make chalk paint:
2 Tablespoons calcium carbonate
1 Tablespoon water
1 cup of latex paint in a flat finish
To make the chalk paint, first whisk the calcium carbonate and water together to form a paste. Then add the latex paint and stir vigorously until all of the clumps are gone. Voila! Now you have a very durable paint that looks imperfectly charming and chunky. It adheres like nobody’s business—even on slightly slippery surfaces—perfect for transforming just about any tired and worn-out pieces of furniture.

I gave these kitchen chairs 2 coats of the chalk paint and that seemed sufficient coverage.
Transforming My Kitchen Chairs Step 4—Waxing
This step is perhaps the easiest—a welcome relief at the very end of a project. Wax gives a protective coat over all of my hard work in painting.

To wax the kitchen chairs, I simply used a wax brush that I found at Lowes (I personally don’t think you need to buy the high-end, expensive name brand wax brushes) to brush on a coat of wax. And that’s pretty much it. I just make sure that it’s a solid, thick layer. You can go back and buff the wax for a higher sheen, but I rarely bother doing that.
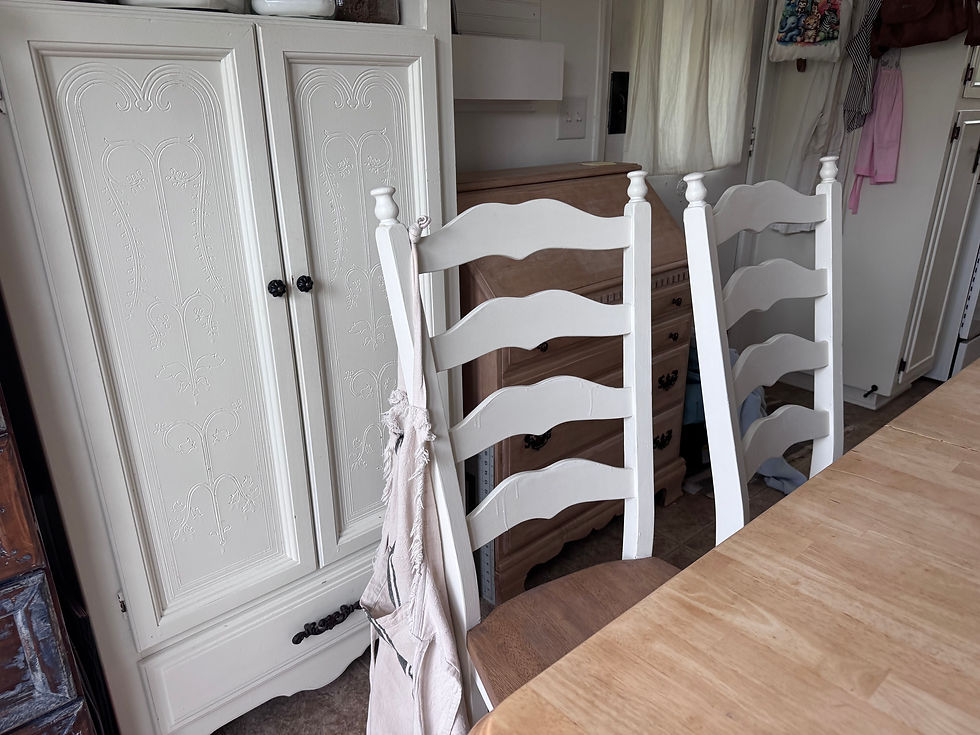
The wax will take a few days to dry and cure, so I encourage my family not to touch the pieces for a few days. We usually end up using waxed furniture sooner than we should, but it’s all okay. Wax is very forgiving, and you can always apply another coat.
That pretty much wraps up this project! Transforming my kitchen chairs was so worth the effort. It’s not a hard project per se; it just takes some elbow grease and determination.
Do you have any sad or tired looking pieces that could use a little refresh? Maybe try this chalk paint process on some chairs or even other pieces like a dresser or wardrobe. Happy homemaking, friends!
-Ashley
#wax #anniesloane #clear #coat #finish #kitchen #chairs #chair #table #redo #tranform #transformatin #upcycle #thrift #furniture #home #homemaking #homemaker #work #paint #latex #flat #brush #stain #weatheredoak #agedwalnut #varathane #lowes #store #hardware #tableandchairs #refinish #piece #wood #sand #sander #family #children #vintage #antique #charm #farmhouse #style #farmhousestyle #cottage #cottagecore #white #cream #weathered #meals #gather #food #diningroom #dining #dine #eat #cozy #collected #look #house #cute

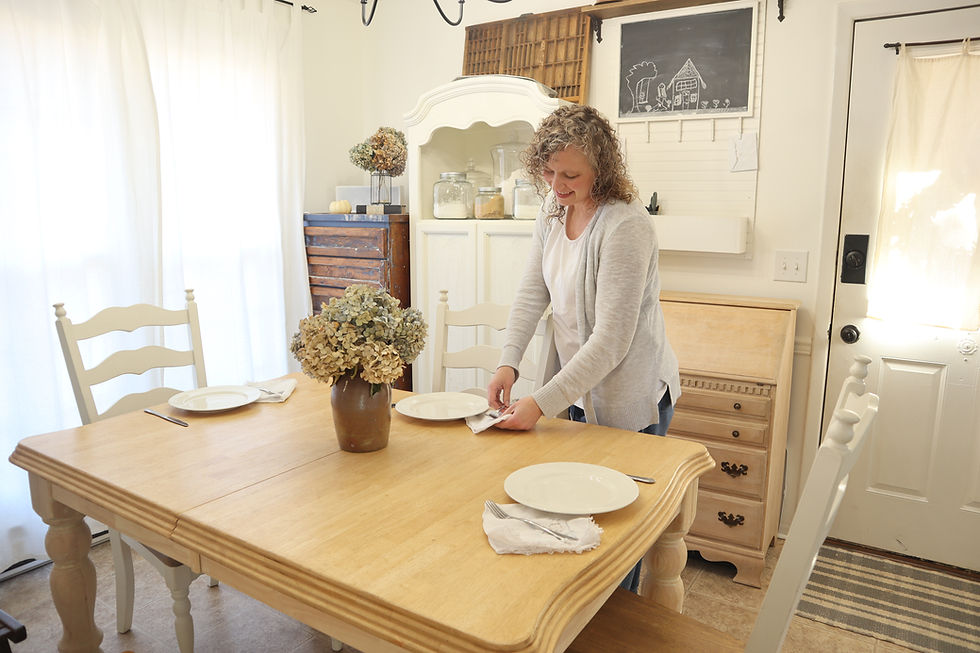

Everything looks great. It's so amazing how it now looks like you have a brand new dining set!! Love it!!
Love the farmhouse look!