
Refinishing My Kitchen Table: Raw Wood Finish for Any Furniture
- Ashley Qurollo

- Nov 17, 2025
- 6 min read
Updated: Nov 20, 2025
November 17, 2025

Today I want to share how I refinished our kitchen table to make it look more antiqued and vintage!
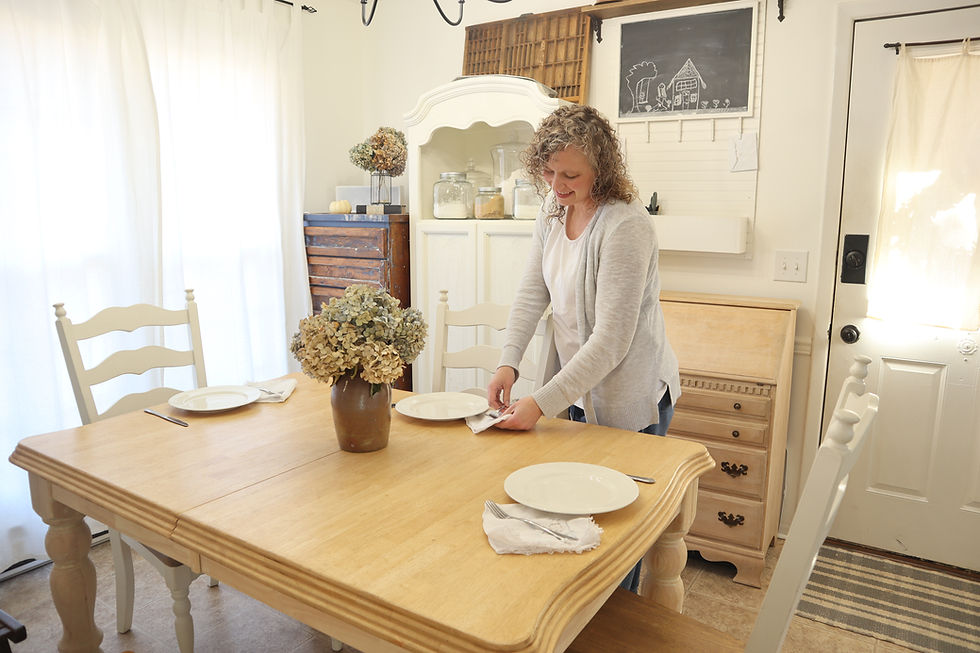
Our kitchen table is central to our home. As a family who works and schools from home, our kitchen table is used all throughout the day. We eat almost all of our meals here, we do our homeschool here, we do craft projects here, we host company here, and so on.

I hope that this project will inspire you to take what you have in your home and make it beautiful. It doesn’t take a lot of money to change something up in your home, and often the most meaningful changes require a little ingenuity but are actually low cost. As a family, we do our best to live frugally and stay out of debt, and by taking what we have and renovating it, we are able to live well within our means.
The process that I’m going to show you today would definitely work on a table and it would also work on just about any other piece of wood furniture. You could take this concept and use it to transform so many pieces in your home and give them a fresh look!
The look I’m trying to achieve is a weathered, timeless farmhouse look. I love the look of well-loved and well-worn pieces that have stood the test of time. I’m going for a stripped down, natural wood look that emphasizes the wood grains.

This table was given to us by my parents, and it’s a great piece from Ashley furniture. It’s sturdy and well-built, but the table just looked a little dated with the honey-hued top and buttery yellow legs. I’m hoping to reveal the beautiful wood grains beneath the heavy finishes and really bring this piece to a new life.
So let’s get started. First let’s talk supplies. Here are the basic supplies that I used for this project.
A black and decker electric sander and a variety of sandpaper pads (varying levels of grit)
Personal protection gear: safety glasses, ear protection muffs, and a sanding mask
Finishing wax (I used Minwax dark on the top and Jolie clear on the table legs), clean rags, and a wax brush
That’s pretty much it as far as gear goes! I tried a little bit of Citristrip on this project but ended up not using it as I will discuss later. But you could certainly use a stripping agent like Citristrip to speed up the process.
Let’s talk through the process of sanding this table.

To start the project, I began with sanding the table top which I will be using the table leaf to demonstrate the same process here (I forgot to get my camera out right away, sorry). Working with the direction of the wood grain, I used my electric sander to completely sand the top of the table. I tried not to bear down on the sander but rather let the sander do most of the work. The top of the table went fairly quickly which gave me a false sense of how fast this project would go. Then came the more tedious work in the grooved edging and legs.

For the table top, I started sanding with a rough grit—80. Then I moved to 120, 240, and 320. By finishing off with higher grits, it gave the table a smooth finish.

Let me just say that I’m not a professional woodworker nor do I want to invest in more tools at this time that probably would have done a better and faster job. I chose to use what I have on hand to complete this project even though it meant a more labor-intensive process for me.

The table edging was a real challenge for me because of the deep grooving. At first I thought I could accomplish all the necessary sanding by using my electric sander, but I quickly realized that wasn’t going to work as the sandpaper pads quickly chipped and flew off my sander.
I also tried putting some Citristrip on the edging and using that to remove the heavy finish. While this method worked, the Citristrip left an orange deposit that I do not want, especially since I will not be using stain or paint.

So the last and most tedious method which I was trying to avoid worked out best in the long run—hand sanding the edges. Impatient me just wanted this project done NOW! But after I got in a groove of sanding (pun intended…get it? Sanding in the groove? Hehe), I enjoyed the slowed-down, rhythmic movement of sanding. Hand-sanding achieved the best results without leaving any unnecessary residue. In the long run, hand-sanding was actually the most efficient with the resources that I had available to me.
Now let’s talk about how I sanded the table legs. Here again I used what I have available to me, my electric sander. This probably was not the right or the best tool for the project and any professional woodworker could steer me in the right direction, but the sander got the job done for the look I wanted.


I wanted a worn, vintage look, especially on the table legs. I wanted to remove most of the paint but still have remnants of it left behind. I did my best to work systematically, one section at a time. At first I was shaky with the sander but eventually gained better control of the sander.
For the stubborn corners and hard-to-reach spots, I hand sanded. I did not sand every last bit of paint, but that's okay with the look I wanted.

After all the sanding was done, then I blew the table off with the leaf blower to try to get most of the dust off. My husband helped me move the table back into the house since rain was coming that evening.

Now for the final stage of waxing the table! Though I would have loved the patina of aged wood on the top, to properly achieve this effect, I would have had to stain the table top which is not something I care to do right now. So instead I opted simply to use finishing wax for the table top and the legs.
Before I started waxing, I gave the table a quick wipe-down with a damp washcloth.

I used Minwax dark finishing paste on the tabletop. When I first put the wax on top, I was quite worried and about ready to run out to Walmart to get something different. The wax turned out a different color than expected and brought back more honey hues which I was really trying to avoid. But after letting it dry for about 15 minutes, the color lightened a bit much to my relief. So I decided to just go with the dark wax.

Applying finishing wax is so easy. At the recommendation of the Minwax instructions, I used a clean cloth to apply the wax. I simply dip my rag in the jar and work the rag into the wax.

Then working with the grain of the wood, I apply the wax until the area is fully covered. I tend to work in about one-foot square areas to ensure complete coverage.

After about 15 minutes, I come back with a clean cloth to gently buff the wax and create a more even finish.
It takes wax a relatively short amount of time to dry (maybe a couple hours), but it takes about a week to completely cure, per the Minwax instructions. It’s best not to use a piece of furniture until it’s completely cured. In our case that wasn’t quite possible since this is our kitchen table and we needed it for meals and homeschool. But hopefully, we didn’t damage the finish too much.
For the table legs, I used Jolie Clear Finishing Wax and a wax brush to apply the wax. I didn’t want to disturb the beautiful patina that the sanding revealed but I did want to protect the table legs. Jolie wax is easy to work with and goes on quickly.


Well, friends. I hope this post was an inspiration to you and showed that you can bring fresh life to pieces you already own! You can also find inexpensive pieces at the thrift store or yard sales, and by putting a little effort in, you can create one-of-a-kind furniture for your home.
Happy homemaking!
-Ashley
#upcycle #thrift #thrifted #furniture #table #diningtable #kitchentable #dining #kitchen #dresser #wood #woodlook #rawwood #raw #wax #finishingwax #finishingpaste #minwax #jolie #redo #refresh #refinish #homeschool #hospitality #eat #food #meals #family #life #time #sand #sander #electric #blackanddecker #grits #tools #howto #frugal #living #home #homemade #homelife #sahm #farmhouse #antique #vintage #charm #charming #sanding #worn #inexpensive #pieces #woodfurniture #redofurniture #inspiration #look #craft #crafting #project #projects #woodprojects #rawwoodprojects #carpentry #woodworker #woodworking #ashleyqurollo


Comments